Audiences
Want to understand more about your website visitors and give them better experiences? Audiences is the place to start. It’s a way of grouping your visitors, based on criteria you set.
It only takes a few clicks to set up an Audience. Naturally, the more Audiences you set up, the more granular you can go with your messaging.
How to create an Audience
Click Audiences in the dashboard:
Click Add New:
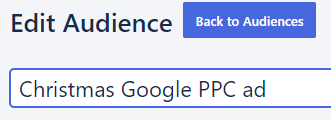
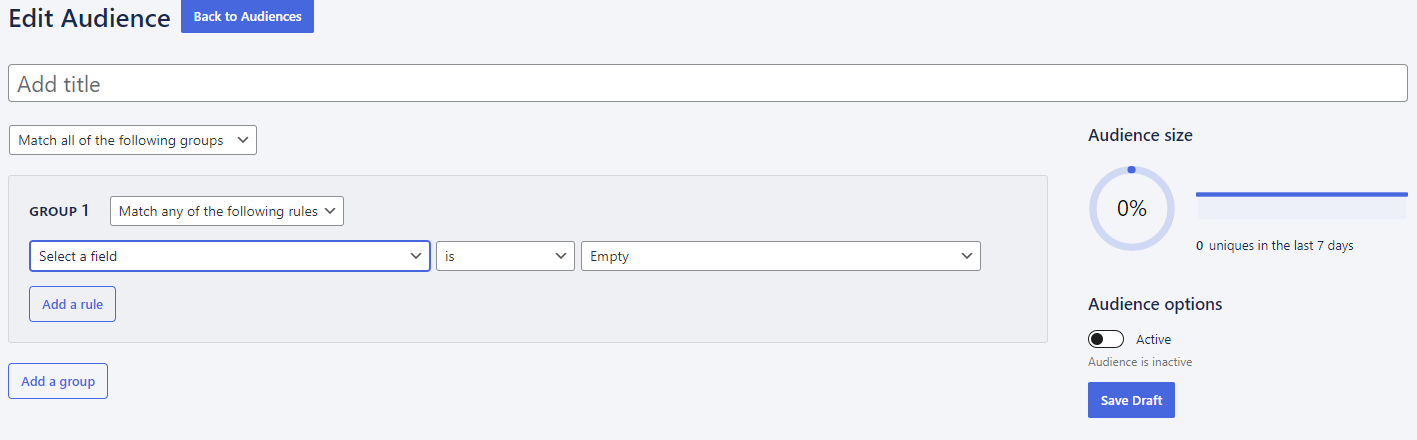
Give your Audience a title. Maybe based on the Audience type so you can remember it later.
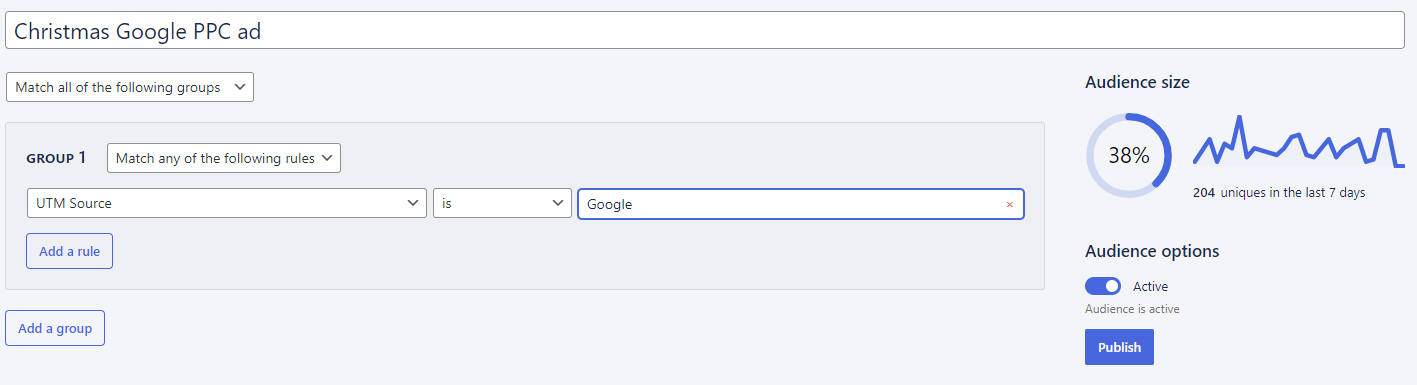
For this example, let’s say you run an ecommerce store. You’re running Google PPC ads for your Christmas campaign. You want to create an Audience for people who’ve clicked your ad:
Audience rules
Let’s add the rules that define your Audience.
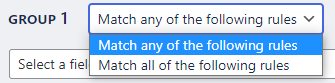
First, choose if the rules should apply to all or any.
For the Christmas PPC ad we’ll choose Match all of the following rules:
Audience fields
You’ll find plenty of fields for including (and excluding) people from your Audience. The more fields you use, the more **segmented ** your Audience becomes.
Click the Select a field dropdown:

Help yourself to these options:
Campaign-related
- First UTM Campaign
- First UTM Source
- First UTM Medium
- First UTM Term
- First UTM Content
- UTM Campaign
- UTM Source
- UTM Medium
- UTM Term
- UTM Content
- Referrer
- Current referrer (for tracking visitors referred more than once)
- First referrer (for tracking performance of the initial referrer)
Device-related
- Browser
- Browser locale
- Browser version
- Operating System
- Operating System version
Location-related
- Country
Behaviour-related
- Sessions (when your visitor does more than one action in one visit)
- Page views
Time-related
- Hour
- Day
- Month
- Year
Audience conditions
Now we can include, exclude, and set conditions. Let’s stick with our Google PPC Christmas ad example:
First, we’ll choose UTM Source (click the dropdown to view all the other options):

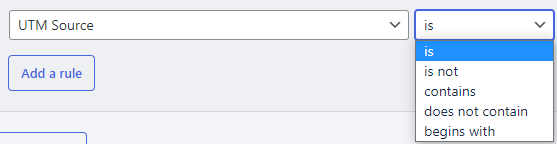
Next, we’ll choose the condition:
We’ll add Google as the UTM source, by clicking Other, please specify:

That’s the first rule done:

We can also make this rule even more specific. Imagine the ecommerce store runs Google PPC ads all year. Let’s keep our Christmas ad Audience separate.
Click Add a rule:

We’ve already defined the Audience as:
- People who clicked the ecommerce store’s Christmas PPC ad
Let’s say the Christmas ad launched in December. So we’ll add a rule that this Audience is only people who clicked in December. We exclude people who clicked ads at other times of the year.
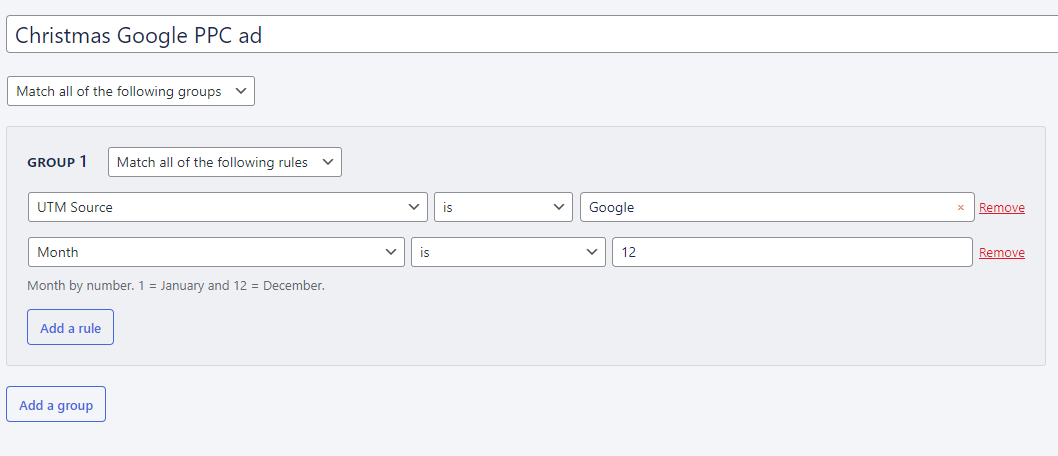
Choose Month as the field, and then add the number 12 (December = 12th month):

The group is ready to go:
Adding multiple audience groups
Want to add more groups? Click the Add a group button:
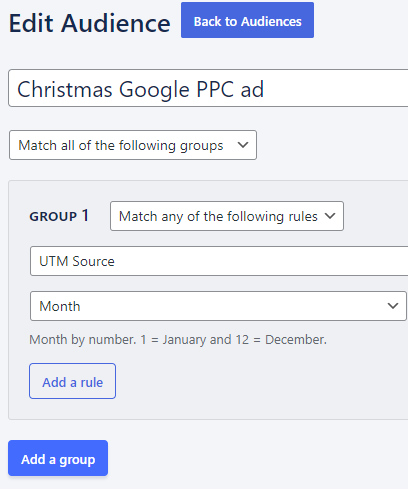
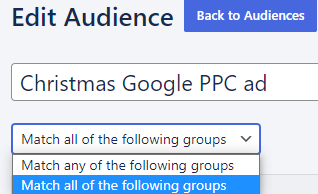
With two or more groups, you can also click the dropdown to match all or any groups:
Audience size
Altis also shows you how adding different fields and conditions will impact the Audience size. Data is based on the previous seven days. So if you’re building a new website, it shows 0 until you start getting visitors:
As you gather more data, Audiences will become more powerful. Just like your website:
How to activate an Audience
When you’ve finished configuring, click the toggle to activate (or deactivate) and click Publish.
You can also save the Audience as a draft:

You can now use Audiences for:
- Analytics Build up a segmented picture of how different groups act on your website
- Personalisation Create experience blocks with content customised for every audience