Plugins and themes
You’ll find a list of plugins and themes ready and waiting for you. All are either built by us or come from trusted and established third parties. We recommend this selection because each one is:
- Built and maintained by WordPress specialists (for example, the WordPress Importer plugin is from WordPress.org)
- Simple to install and use
- Easy to review and approve by your software engineers
Plugins
You’ll find a list of plugins waiting for you—either from Altis or added by your developers.
How to view a plugin
In your dashboard click Plugins:
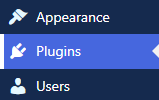
Each plugin comes with a short description. For more info, you can click the plugin creator’s name to visit their website:

How to activate a plugin
Imagine you want to start using forms on your website. For this example, Gravity Forms is the plugin you need. Click **Activate **:

Gravity Forms is run by a third party. That’s why you’ll be asked to register with them and get a license key to use:

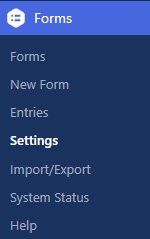
You can then click Settings to start setting up your forms:

A Forms menu will also appear in your dashboard:
Network plugins
Some are set by default to run on all your websites. This saves you having to activate each one individually. These plugins will say “Network”. For example, Human Made’s plugin for the Global Media Library:

Themes
You can find themes under Appearance in the dashboard:
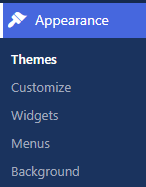
You can see which theme is active (and click to customize):

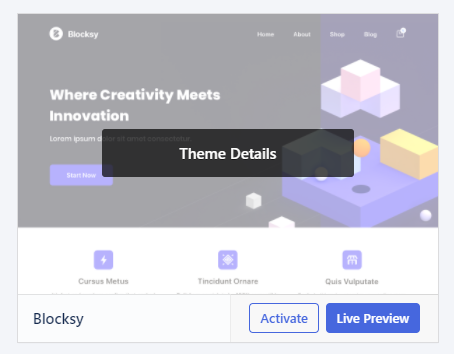
You can also see other themes available for your website. Hover over to view details, preview a live version, or **activate **:
How to customize your theme
Some basic themes are ready to go “out of the box”. However, you may also have different customisation options depending on your theme.
Some of these areas are detailed below. After any customisation, it’s worth visiting your website using some different devices. Ideally mobile, desktop, and tablet. Just to see how everything looks on different-sized screens.
Under Appearance click Customize:
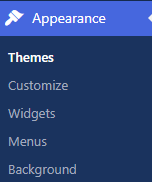
Site identity
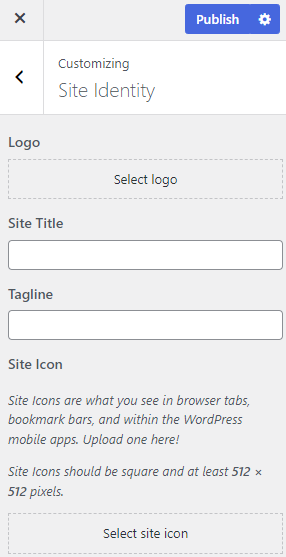
Here’s where you can customize the website’s name, tagline and logo. You can also add a site icon (favicon). This will appear in a visitor’s browser tab, bookmarks and browser bar.
Colors
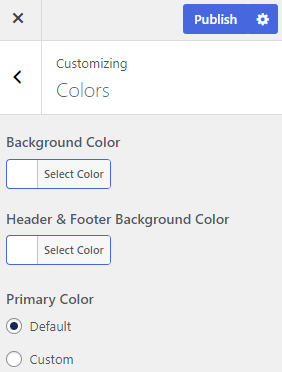
Your theme may allow you to customize your website’s default background color. Changes also affect your header and **footer ** backgrounds.
Your theme may also allow you to customize the primary color for links, buttons and featured images. Click Custom to choose a color:
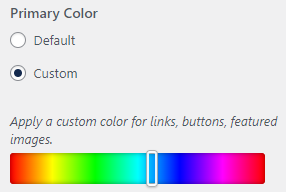
If you’re going for a multi-colored customisation, check you have enough contrast between background and foreground. You can find tools online for this – search for “online accessibility checker”. This tells you if your color combinations make it hard for people to read.
Theme options
Depending on your theme, you could also include a search bar in your header. If you’re publishing posts, you can also choose to display an author bio. You can also choose to show full texts or summaries on archive pages.
Cover templates
The page or post title appears as text, overlaid on the featured image.
How to use menus
Also, depending on your theme, you may have the option to have different menus showing on your website in different places. These are useful if you want to:
- Show fewer menu options on mobile than desktop
- Create a footer menu with different links compared to your main menu
- Include links to other websites, maybe from/to your corporate site or other microsites
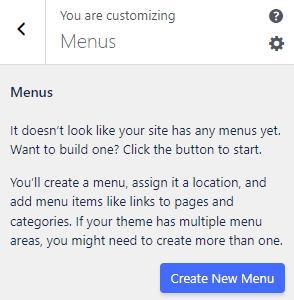
Click Create New Menu to get started:
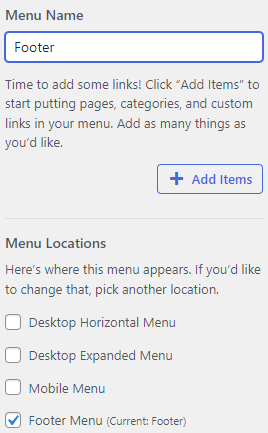
Give the menu a name and choose where you want the menu to appear:
- Desktop horizontal Show all menu options to desktop users
- Desktop expanded
Your menu looks like a mobile menu for desktop users. Users click to open the menu options

- Mobile menu What mobile users will see on
- Footer menu The menu users see when they scroll to the footer- Social menu This shows icons for your social media channels
For this example, we’ll create a footer menu. Tick the Footer Menu box and then click +Add items:
You can then link to areas within your website (pages, posts, categories, tags, custom search results).
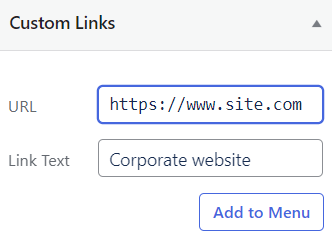
You can also link to external websites. Add the URL and link text, and then click Add to menu:
The menu is now ready to be added to your website. You can do this by using a widget (more on widgets below).
Widgets
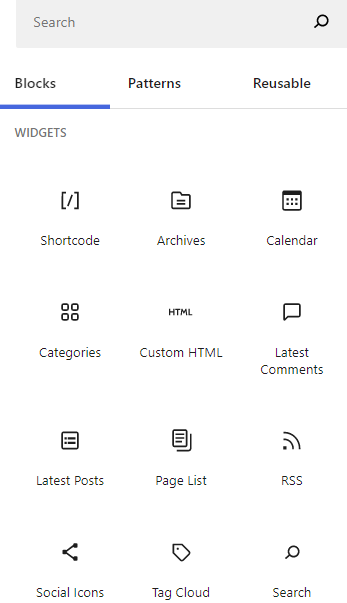
Different themes can offer different widgets for your website, sidebar, and other areas outside your pages and posts. They’re those little extra elements that help bring things to life. You can use widgets to show extra content, tools such as search boxes, images, and much more.
When in a page or post, add a new block. You can then search for, or scroll to, the widgets:
Click Appearance > Widgets in your dashboard:
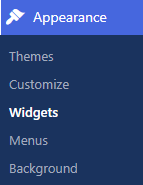
You’ll see the current areas where widgets can be placed. These areas change depending on your theme. In this example, the areas are in the footers:

Click a dropdown to view the widgets in each widget area. After clicking the Footer #1 dropdown, we can see there are widgets for * search*, navigation menu, and recent posts:
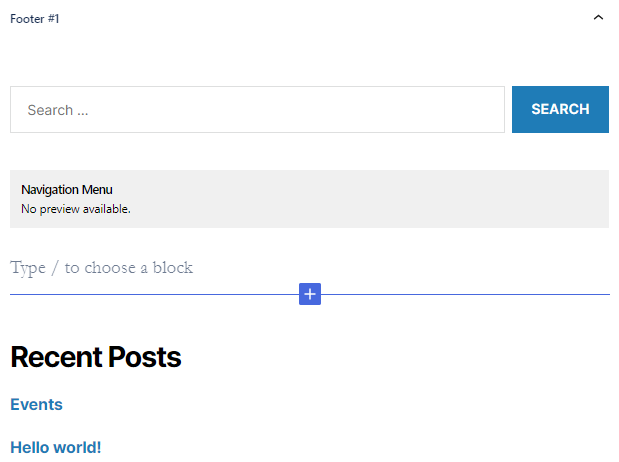
Click any of these widgets and a toolbar appears:

These options will vary depending on the widget type. Here’s what’s available when you click the Search widget. From left to right click the icon to:
-
Change the block type or style:
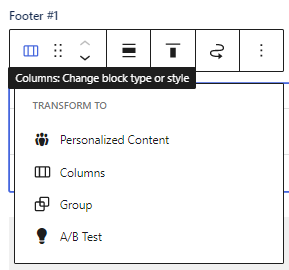
-
Drag the widget to change its position:
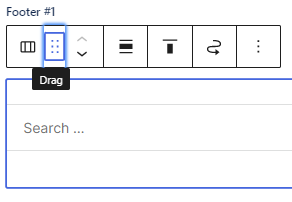
-
Move the widget up or down one level:
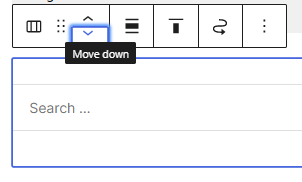
-
Change the widget’s horizontal alignment:
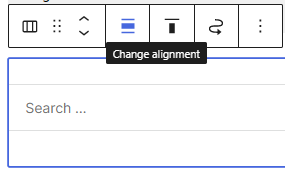
-
Change the widget’s vertical alignment
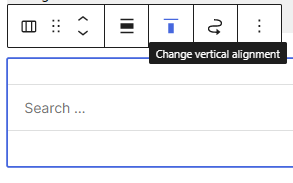
-
Move to another widget area:
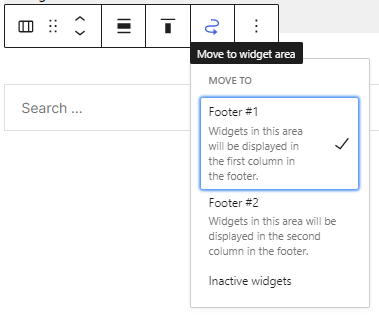
-
View more options:

When you’ve made your changes, click Update:

To add a block to widget, click the + sign:
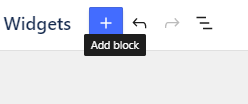
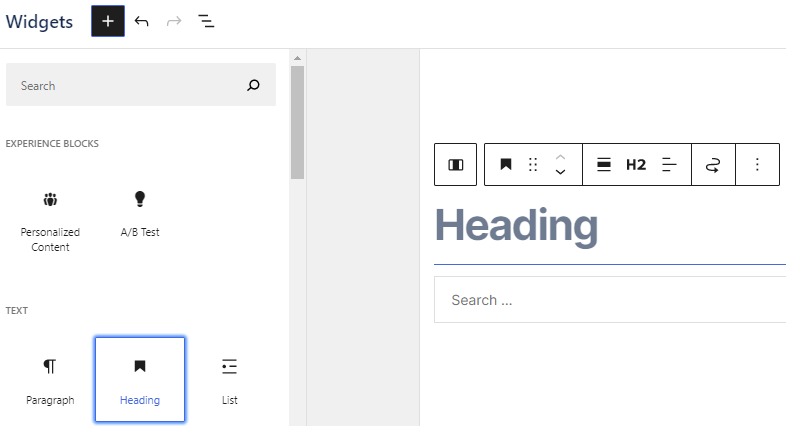
Choose the block type. Then click or drag to where it should be displayed. The example below shows a heading block being added above the search bar:
Homepage settings
You have two options for what to show on your homepage:
- Latest posts Is your website mainly about publishing content, news or blogs? This option is great for showing newly published posts
- Static page You can also show visitors one of your pages, such as a welcome page. Where content tends to stay the same
Additional CSS
Here’s where you can add extra code to style your website.
Yoast SEO breadcrumbs
Set up breadcrumbs for users to:
- Know where they are on your website
- Click to get around your website
- See a page/post trail in search engine results
Yoast’s guide to all things breadcrumb-related
“I need a plugin that isn’t listed”
No problem. View the developer documentation for third-party plugins.